
![]()
Fireworks
Lesson 2-2:
Some Advanced
Bitmap Techniques
There are many additonal tools you can use to edit bitmap images. In
this lesson, you will work with several of them.
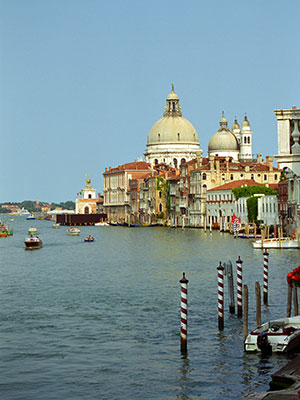
Task 1 - Using the Rubber Stamp tool
This tool can be used in two different ways - to remove sections of an image you don't want, and copying, or cloning a section, you want.
- Click the image at the right and save it to your Fireworks folder, with your lastname in the front of the filename.
- Open the image in Fireworks.
Examine the picture - you are going to make two changes to it: you will remove one of the poles at the lower right and add another boat.
- Be sure the image is selected. From the Bitmap section of the Tools
panel, click the Rubber Stamp tool. In the Properties Panel, set
the Size to around 16-18, and the edge softer to 85-90.
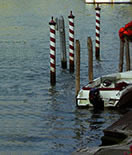 Click
about 1/8 to 1/4 inch to the left of the leftmost pole.
This places the reference point (the plus sign).
- Now carefully click and drag over the pole, using small circular
motions.
This replaces the pixels in the pole's location with the pixes at the reference point.
- Be sure to remove the reflection of the pole in the water below where
it was, but leave the dark streak of water below it.
- If you are not satisfied with the result, undo and try again. When you are finished, press Esc or select the pointer tool.
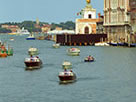 Reselect
the Rubber Stamp tool and change the Size to around 10.
Reselect
the Rubber Stamp tool and change the Size to around 10.- Click to set the reference point on the speedboat on the left of
the image. Place the cloned boat somewhere in the still water below
and a bit to the right of the small boat to the right of the one you
are copying.
Again, use small strokes, and be careful not to clone more than the boat and its wake.
- Save your file and close.
Task 2 - Using the Magic Wand tool
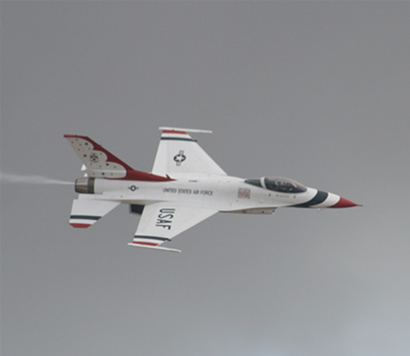
 Click the images at the right and save them to your Fireworks folder.
- Open the both images in Fireworks. Switch to the jet image.
- Isolate an image:
- Select the image and click the Magic Wand tool in the Bitmaps section of the Tools panel.
- On the Properties Panel, you see the Tolerance control.
Set this at about 20 and click in the gray area below the plane.
- You will probably see that some of the plane is selected along with
the background.
Reduce the tolerance until you get a fairly clean line along the bottom of the plane. - Press Delete to remove the selected pixels. Continue the process,
adjusting the tolerance as needed, until the most of the gray area around the plane
is removed.
- To remove any remaining unwanted pixels, use the Eraser tool - use a small tip around the plane and a larger tip to remove pixels in the background farther away from the plane.
- To check whether you are finished, select the image and click the
background with the Magic Wand tool. Any stray pixels will become visible.
- Select and copy the isolated object:
- When you are finished removing the background, use the Magic Wand tool to select the background.
- From the Select menu, choose Select Inverse. This should select the
plane only.
- Copy the selection. Switch to the clouds image and paste.
- Adjust composite picture:
- With the jet still selected, use the Scale tool to rotate the jet so that it is flying slightly upwards. Adjust it as you like on the background, leaving some space at the left behind the jet.
- With the jet still selected, click the Filters plus sign on the Properties Panel. From the list, choose Eye Candy, Motion Trail.
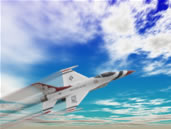 In the dialog box, adjust the angle of the trail and the length as
you like. Decrease the Taper and decrease the Smear. Click OK.
In the dialog box, adjust the angle of the trail and the length as
you like. Decrease the Taper and decrease the Smear. Click OK.- Make any adjustments you want in the trail, position or rotation
of the jet.
If you change the rotation of the jet, you will have to go back into the filter and adjust the angle of the trail, too.
- When you are satisfied with your results, save the file as Lastname JetZoom.png and close. You can resave the isolated jet also if you wish, or not as you choose.
Task 3 - Working with Retouching Tools
- Tutorial
LinkClick the Tutorial link at the right to open the webpage,
then choose Retouching Tools.
- Save the image you see at the right, using the file name Lastname
quilt.png. Open the file in Fireworks.
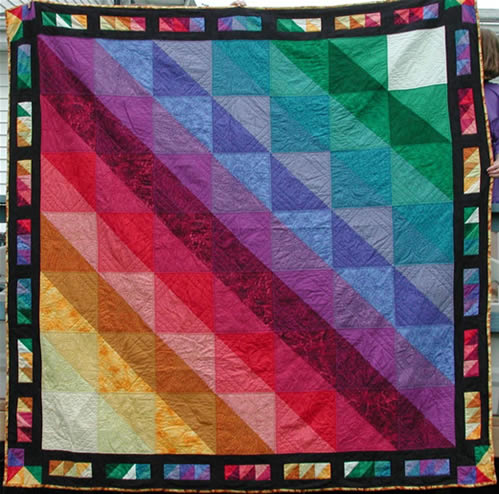 Use
the Blur tool, experimenting with the settings, in the upper right
- Use the Sharpen tool, experimenting with the settings, in the lower
right corner, bringing out the quilting lines in the purple area.
- Use the Dodge tool, experimenting with the settings, to change
the color of several of the dark squares.
- Use the Burn tool, experimenting with the settings, to change the
color of several of the light squares.
- Use the Smudge tool, experimenting with the settings, but using a light pressure setting, to smudge the border colors of the quilt.
- Place a rectangular or oval shape (no fill, appropriate color stroke) around each of your retouched areas, adding a small text object to idenify the tool used.
- Save and close your file.